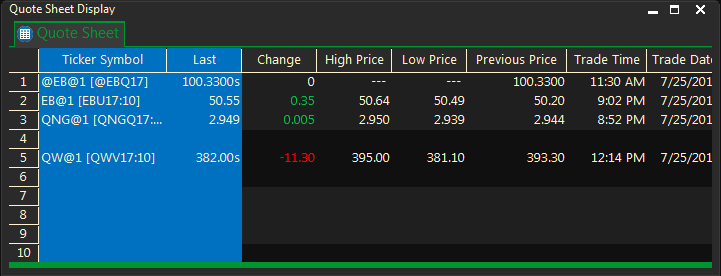
The format of ProphetX quote windows is similar to those in common spreadsheet programs. When you right-click on any part of the window, the pop-up menu will display commands available for customizing it.
To Customize the Entire Sheet
Right-click on the quote sheet, then select Sheet Properties on the pop-up menu. (If a cell, column, or row is selected, press your Escape key to cancel it, then right click in the sheet.)
If row headers are displayed in the window, you can also right click in the top left corner of the sheet, above the row headers, and select Sheet Properties
To Customize a Column
Select column/s to be customized, then right click in the selected area and select Column Properties

- To select a single column, you can simply right click on the column heading.
- To select a block of columns, move the pointer to the top of the first column until it highlights the column, then drag it across the desired column headings.
- To select non-contiguous columns, press the Control (Ctrl) key as you click on column headings.
To Customize a Row
Select row(s) to be customized, then right click on the selected area and select ROW PROPERTIES.
- To select a row, click on the row header.
- To select several rows, drag the pointer over the row headers.
- To select non-contiguous rows, press the Control (Ctrl) key as you click on row headings.
Tip: To select rows, the shaded row header column must be displayed along the left border of your quote window. If it is missing, right-click inside the sheet and select Sheet Properties.
- In the Properties dialog, click the Title tab, then click on the Show Row Headers box, Adding a check mark to it.
To Select a Cell
- Select cell(s) to be customized, then right click on the selected area and select Cell Properties.
- To select a cell, click on it.
- To select a block of cells, drag the pointer across them, highlighting the block.
- To select non-contiguous cells, hold down the Control (Ctrl) key as you click on the individual cells.